How to make veggie sushi ~or~ How to make vegetarian sushi
The first time I tasted veggie sushi, I knew I'd found a new favorite! But it's so expensive to buy premade and making sushi myself seemed so difficult and mysterious what with its unfamiliar ingredients and strange, hard to find equipment. Where would one find a bamboo rolling mat, after all? Not at my local grocery store, that's for sure! They do sell sticky rice, though, and the seaweed sheets called nori and even the special seasoned rice vinegar that gives sushi its distinctive flavor, so I decided to go for it. And if my homemade sushi looked weird and tasted worse, hey, I'd have had fun experimenting, anyway.
I am here to tell you that making sushi (especially veggie sushi) is not difficult at all! Okay, confession time. First I did a lot of internet research and there are some sites with great directions and photos out there. And then Sunny (who has made sushi, only she calls it something Korean--kimbop) conveniently phoned me while I was right at the most intimidating stage. So I asked her a whole string of questions whose answers I hadn't found on the internet. Perhaps I'll be able to answer a few of yours, too.
So. First you need to buy some sushi sticky rice. I think it can also be called sweet rice. Then cook it according to package directions. But apparently you don't be too intimidated about the rice. Sunny just used what she happened to have in her (2!) rice cookers--some brown and some white. Just don't try to do this with that nasty quick cooking "rice" that crowds typical supermarket shelves. Use real rice. The kind rice-eating peoples around the world use. That said, the sticky rice was really, really sticky and I think using it made making these much easier. So, even if I add some of my yummy brown rice to a future batch of sushi, I'll make sure to use at least half sushi rice.
While the rice is cooking is a good time to prepare the long, thin strips of sushi fillings. I used cucumber (the part without the seeds), avocado (obviously these can't be "long" strips), carrot (use a vegetable peeler) and egg (break into a small bowl, whisk with a fork and then fry on low heat).
So, here's my shopping list:
sticky rice
seasoned rice vinegar
nori--sheets of dried seaweed
the vegetables: a carrot, an avocado, a cucumber
and, if you a) aren't vegan and b) like the taste--an egg.
Okay, that doesn't look so scary, after all. Hey, if I can do this, so can you!
Once the rice was cooked, I let it sit in the rice cooker awhile and then emptied it out into a large metal bowl, measured and stirred in the appropriate amount of seasoned rice vinegar (the bottle label tells how much to use). I stirred and spread it out at intervals while the rice cooled enough that it wouldn't cook my fillings. Be warned, though, that the cooler the rice got, the gloppier and harder to spread it got.
Now comes the part where I make sushi without a special bamboo rolling mat. It was surprisingly easy! I came as close as I could, though, to including the traditional bamboo in the prep--I rolled them over a bamboo cutting board. Hee, hee. But a piece of plastic wrap worked perfectly fine...and I'm not 100% sure even that was necessary.
 So, we begin. First lay down a piece of plastic wrap. On top of that goes a sheet of the dry seaweed--rough side up to make it easier for the rice to stick to it (I think). On top of the seaweed, use wet hands to spread out a very thin layer of rice up to about an inch or so from the farthest-away edge. It doesn't go far enough in this picture because it was my last sushi roll and I ran out of rice!
Notice there's a bowl of water and a dry cloth in the picture? That's because you need your hands to be dry when touching the seaweed and well wetted when handling the rice! You'll use both water and cloth--a lot.
In the picture, you can see the strips of carrot, egg, cucumber and avocado all ready to make more sushi rolls. I could have cooked a lot more rice. Of course, the four rolls I did make fed three people lunch very nicely...especially with the addition of all the unused fillings that were happily devoured after the sushi was gone. Okay, back to how to make sushi.
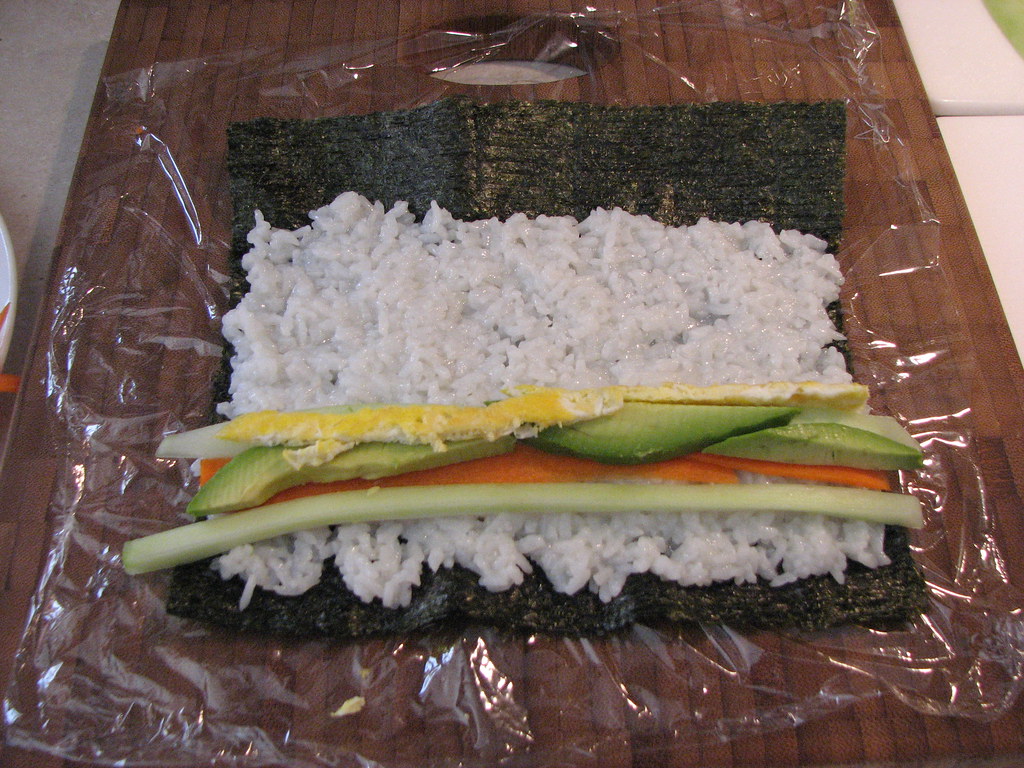 Now that the rice is spread on the nori, it's time to lay the strips of fillings across the rice. I piled the fillings in a bit from the very edge of the rice. You can use any combination of fillings that you like. We found that we like our sushi to have plenty of fillings--though it's easier to roll with fewer. This was the last roll I made and it has two strips of cucumber and one each of avocado, carrot and egg. Next time I'll use more in all of them.
Now comes what (next to choosing the rice) is probably the most intimidating part of making sushi--actually rolling this flat rice and mound of stuff.
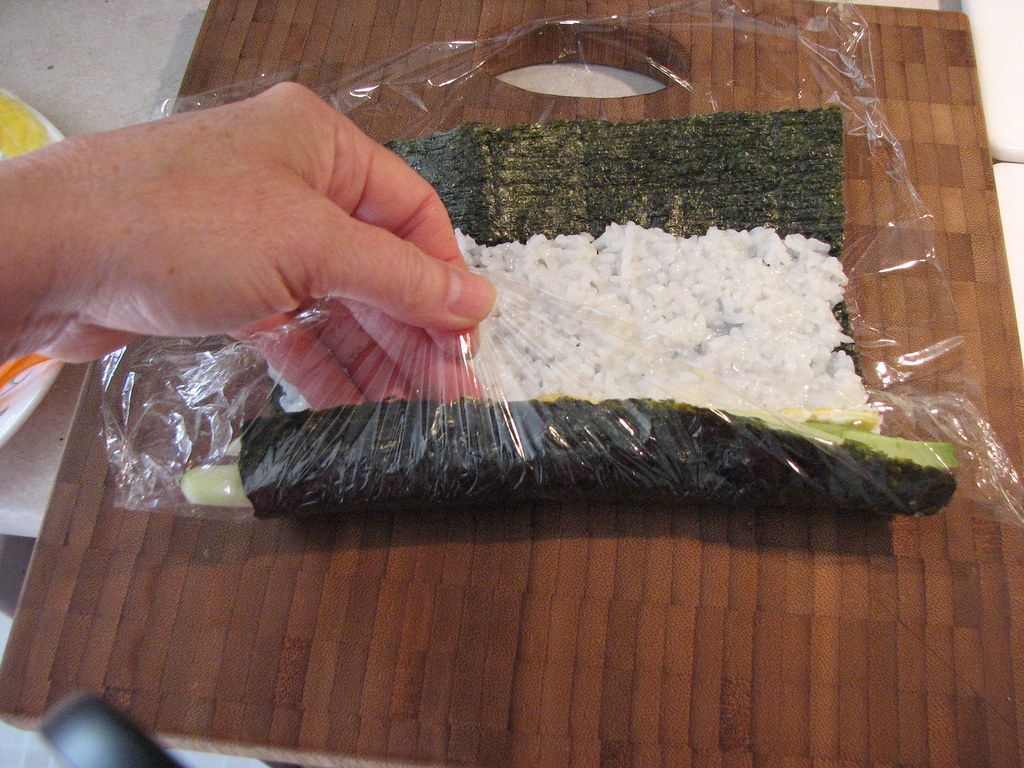 Hint #1 (thanks, Sunny) is to squish the bottom pieces right into the rice. Then, starting at the bottom and using that handy piece of plastic wrap as needed to help, just roll it all up. Hint #2 is to be sure to press firmly as you roll. You can see how the side on the right is falling apart because there's nothing holding it together. I only have two hands after all and one was busy with the camera...
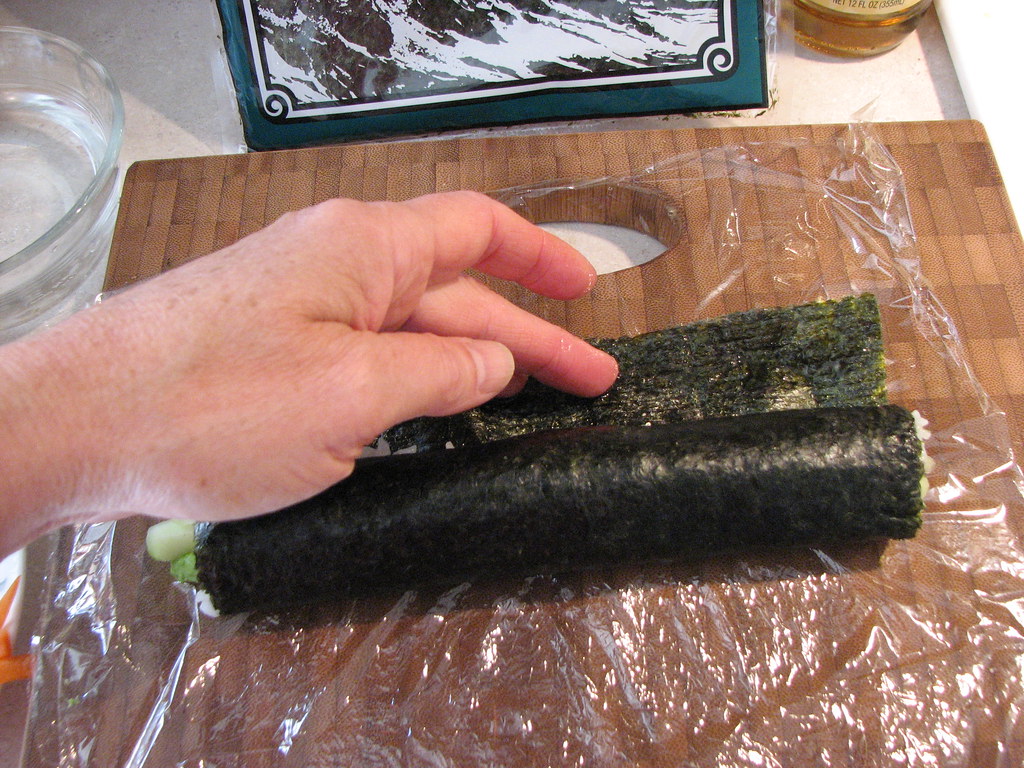 You want your nice sushi roll to stay rolled, so dip a couple fingers into that handy bowl of water and moisten the seaweed along the far edge. Then continue rolling and press the seaweed together. Press the rice and fillings in at the ends, too. Set the roll aside (with the stuck together edge down) for a bit while you assemble the rest of your sushi rolls.
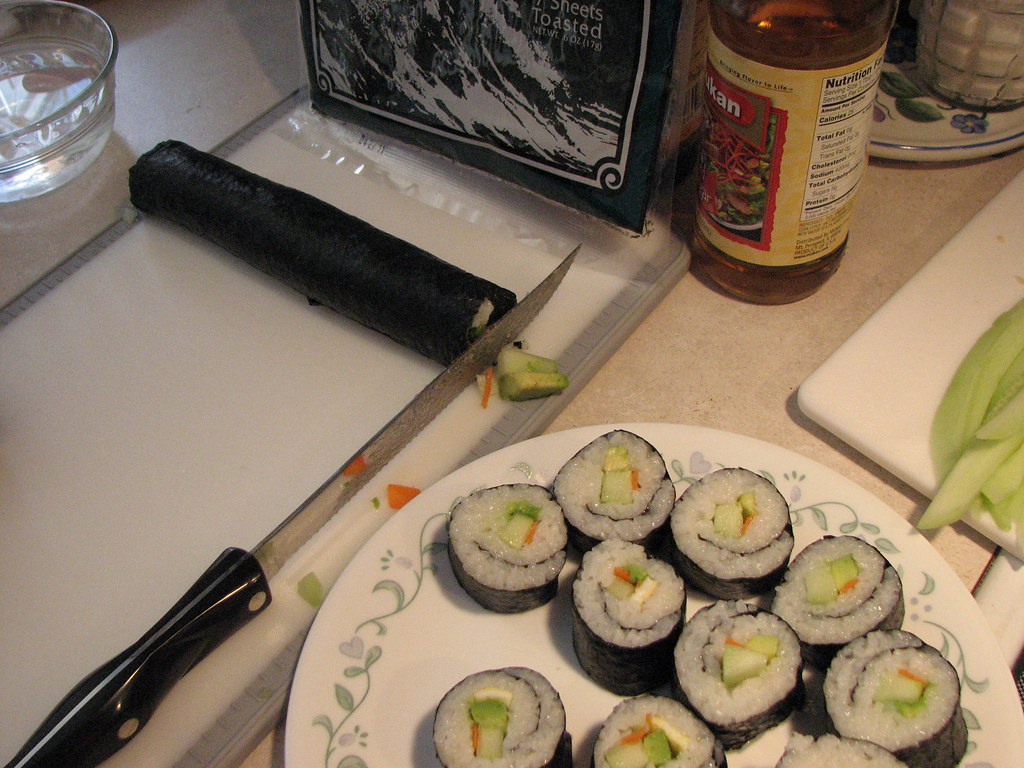 Using a clean, sharp, serrated knife, cut the extra fillings off the ends of your rolls. Then, regularly cleaning the sticky rice off the knife, cut your rolls into approximately 1 inch thick slices. You'll have to clean the knife a lot--that stuff is really sticky! I made some slices thicker and some thinner and we decided that we like thinner sushi better than thicker. It's up to you.
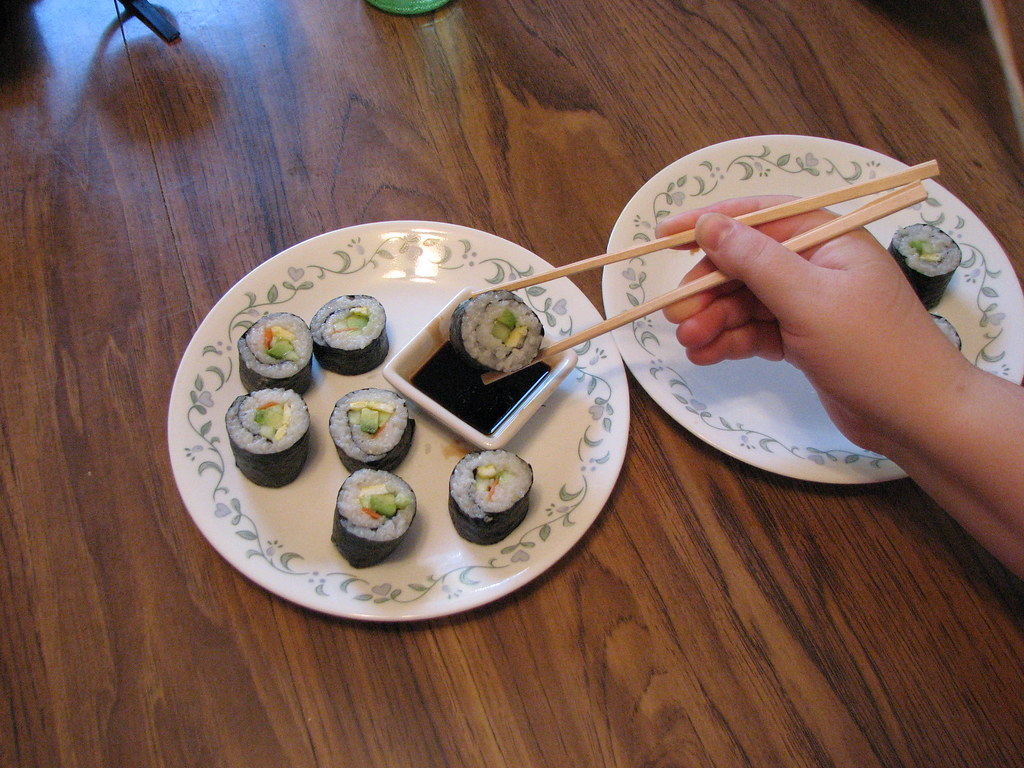
Arrange your beautiful sushi on a plate
with a small dish of soy sauce

and don't be surprised if your sushi vanishes as quickly as did mine--and with nearly as many expressions of delight and gratitude!
posted by Mama Bird at 8:29 AM
![]()


6 Comments:
Ooooooo. That doesn't look scary at all! I will have to try it. Soon. Yum.
Thank you for taking the plunge, so others following can do so with less stress.
I can do that! It's something my husband would love. Thanks for the inspiration!
That was an excellent tutorial! My dd and her boyfriend make it a lot. I always though it sounded so gross, since they do eat raw fish in their's. Then she told me you don't have to use raw fish, or even fish for that matter, which intrigued me.
She and Jim (her bf) made some and took pictures as they went along, then e-mailed them to me. She wanted to prove to me how trulyl simple it is to make. I've not made it yet, but I plan to soon!
thanks for the no-nonsense walk thru - nowhere else did I read "how" to roll - must the seaweed be dry or wet - which side up???? thanks dude!!!
Thank you so much! This is really taking the fear out of homemade sushi. I can't wait to make some now!
This looks yummy. After my stomach feels better I'm going to try this recipe. I love kimbap. =9
Post a Comment
<< Home